Details
Product Description
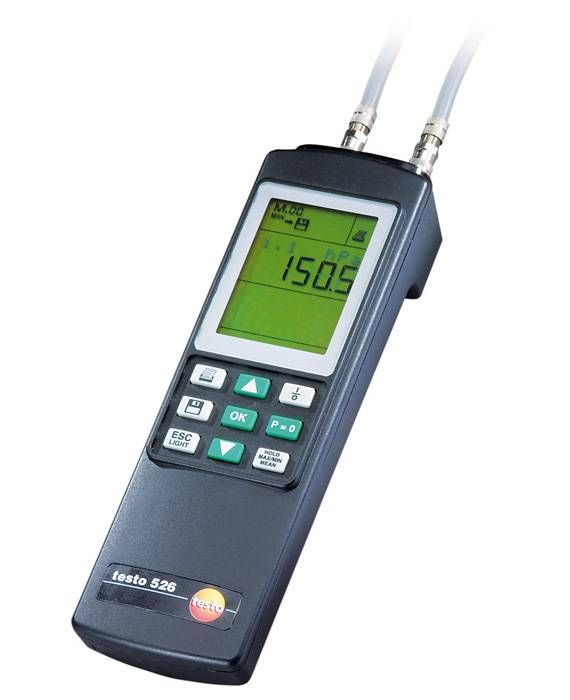
The testo 526-2 is a high-precision differential pressure measuring instrument. It has an internal sensor with a measuring range from 0 to +2,000 hPa. The differential pressure can be determined particularly precisely: to an accuracy of ± 0.05% of final value.
testo 526-2 differential pressure measuring instrument – versatile measurements thanks to additional probe inputs
Two freely assignable probe inputs enable the attachment of additional (optional) probes from Testo’s large range of probes:
- Differential pressure probes
- Absolute pressure probes
- Relative pressure probes
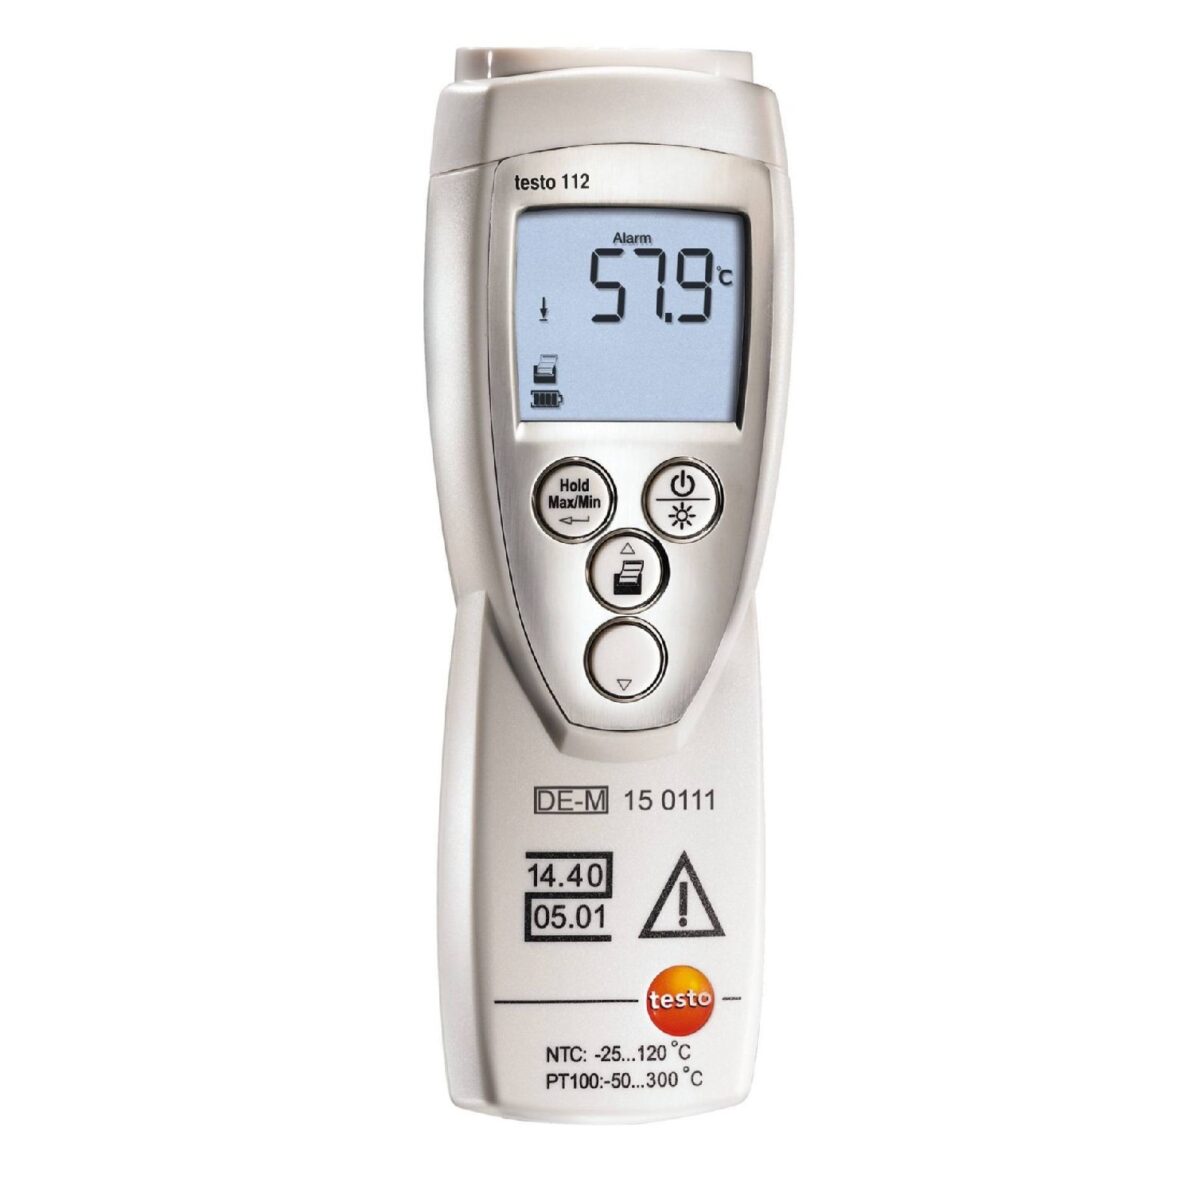
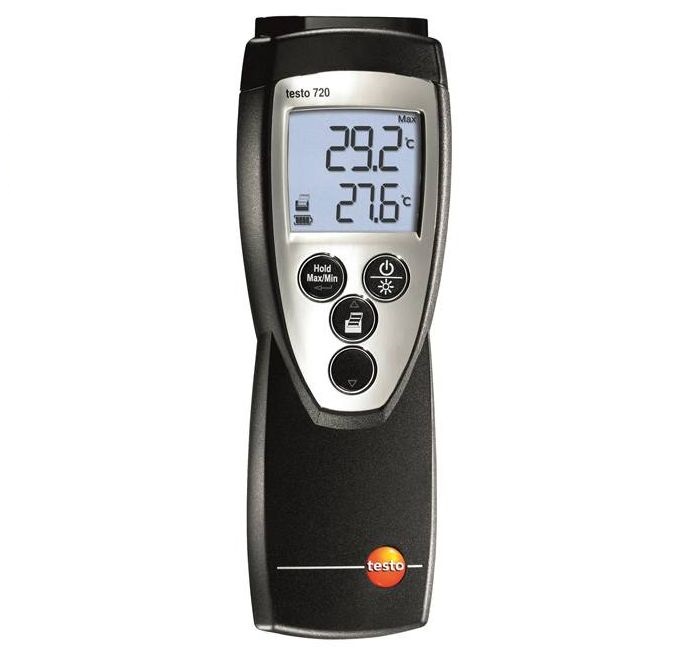
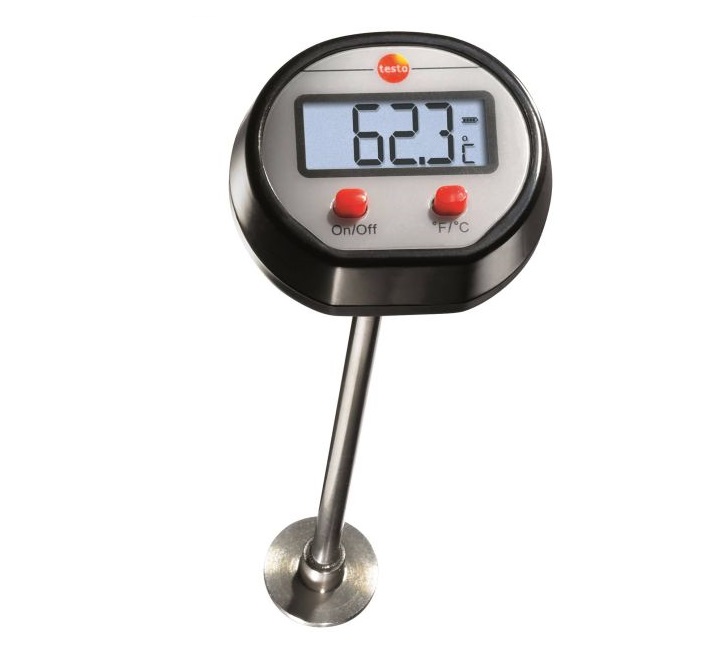
- Temperature probes, such as surface, immersion and penetration probes
The high-precision differential pressure measuring instrument can do even more
Measurement data can be seamlessly recorded for tightness testing on containers thanks to the testo 526-2’s test menu. To document the pressure test, there is an option enabling the measurement data to be processed and archived using software or printed out with the testo fast printer directly at the measuring location (software and printer optionally available).
The memory can record up to 25,000 readings. These are stored under their individually designated measuring locations (max. 99 measuring locations) which means they can be quickly found again. Measurement data can be saved individually or as a series of measurements. The measuring rate (0.04 seconds, 1 second to 24 hours) and the number of values to be stored can be freely selected.
Delivery Scope
testo 526-2 high-precision differential pressure measuring instrument, including quick-release connections, calibration protocol and batteries.
Technical Data
Temperature – NTC
Measuring range |
-40 to +150 °C |
Accuracy |
±0.2 °C (-10 to +50 °C)*
±0.4 °C (Remaining Range)* |
Resolution |
0.1 °C |
*Accuracy information applies only to instrument without probes connected
Temperature – TC Type K (NiCr-Ni)
Measuring range |
-200 to +1370 °C |
Accuracy |
±0.4 °C (-100 to +200 °C)*
±1 °C (Remaining Range)* |
Resolution |
0.1 °C |
*Accuracy information applies only to instrument without probes connected
Differential pressure (internal sensor) – Piezoresistive
Measuring range |
0 to 2000 hPa |
Accuracy |
±0.05 % of fsv |
Resolution |
0.1 hPa |
Static pressure |
2000 hPa (abs) |
Overload |
3000 hPa |
Zeroing |
to 50 hPa |
Differential pressure (external probe) – Piezoresistive
Measuring range |
0 to 2000 hPa |
Accuracy |
±0.1 % of mv* |
Resolution |
0.10 Pa (0638 1347)
0.01 hPa (0638 1547)
0.001 hPa (0638 1447)
0.1 hPa (0638 1847 / 0638 1647) |
*Accuracy information applies only to instrument without probes connected
Differential pressure (external probe) – Ceramic
Measuring range |
-1 to 400 bar |
Accuracy |
±0.2 % of fsv* |
Resolution |
0.01 bar |
*Accuracy information applies only to instrument without probes connected
General technical data
Dimensions |
219 x 68 x 50 mm |
Operating temperature |
0 to +50 °C |
Product-/housing material |
ABS |
Measuring rate |
0.04 s |
Battery type |
9 V (6LR61) |
Battery life |
Continuous operation w/ internal pressure sensor: 30 h; With rech. battery: 10 h; With carbon battery: 18 h |
Connection |
Hose: inner Ø 4 mm outer Ø 6 mm |
Display type |
LCD |
Display function |
with symbol, 7 segment display and point matrix |
Display update |
2x per second, in fast measurement 4x per second |
Power supply |
Battery/Rechargeable battery,Mains unit 12 V |
Interface |
RS232 |
Memory |
100 kB; 25,000 measuring values |
Storage temperature |
-20 to +70 °C |
Weight |
300 g |